

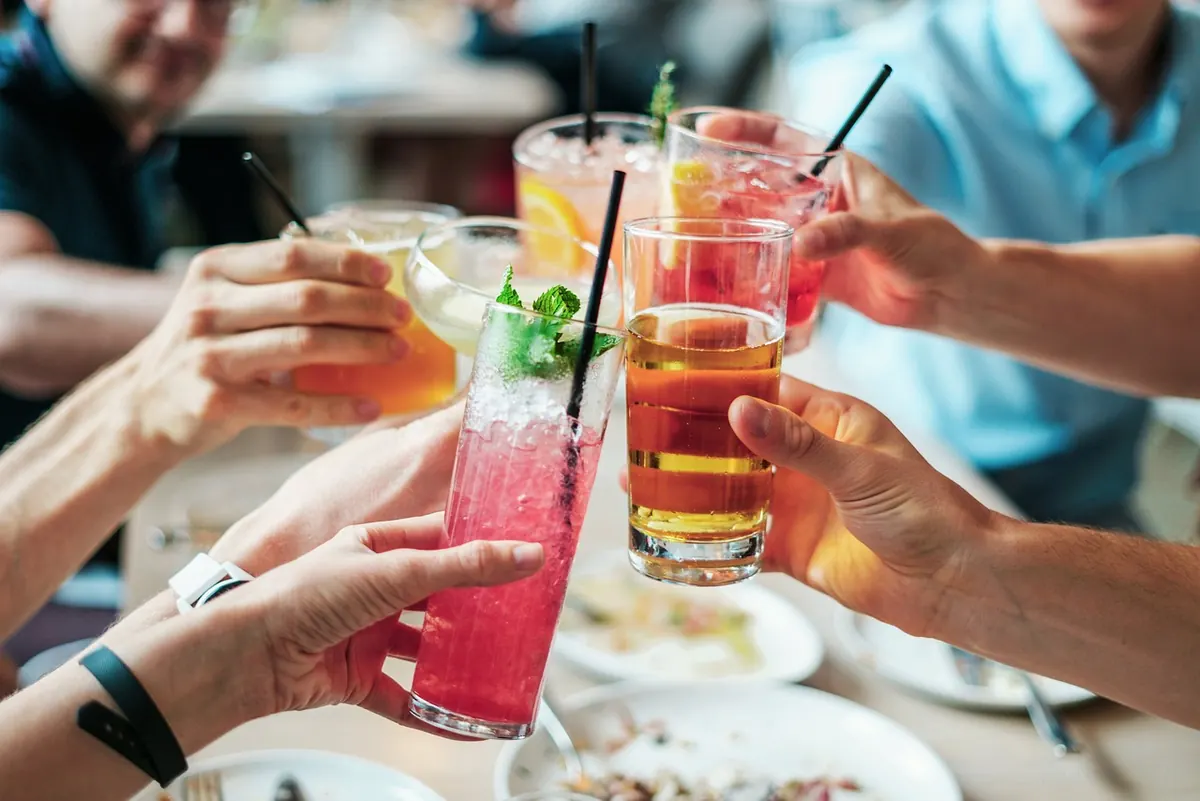
A good drink station does one job: it lets guests pour something they're happy with while you stay in the conversation instead of behind a table. That only happens when the setup is genuinely easy to use. Pitchers that pour without dripping, ice within arm's reach, garnishes that take one hand and three seconds. Get those three things right and the station runs itself for hours.
Plan the Space Before You Buy Anything
Start with where people will actually stand. A drink station works best on a table away from the kitchen doorway and away from the food, so someone mixing a drink isn't blocking the plate traffic. Height matters too: a normal dining table is fine, a low coffee table is not, because guests end up crouching over it and spilling.
Lay the station out in the order guests use it, left to right. Cups first, then ice, then pitchers, then garnishes, then the small stuff—napkins, bottle opener, straws, a pen for writing names on cups. Someone who's never seen the table should be able to move down the line without backtracking.
Add two things people forget: a bus tub or bowl for empties and a folded towel within reach. The towel is the difference between a table that looks tidy at hour three and one that looks sticky.
Batch Pitchers: Fewer Options, Better Drinks
Beginners tend to offer five drinks. Three is plenty. Pick one bright and citrusy, one darker or berry-forward, and one no-alcohol option that isn't an afterthought. A good non-alcoholic punch keeps the whole table covered and stops the sober guest from nursing a warm soda.
Use a template, not a recipe
Once you know the pattern, you can batch anything. Roughly: three parts mixer or juice, one part citrus, one part syrup or sweetener, one or two parts spirit if you're using one, topped with something bubbly. Taste it before it goes in the pitcher, then adjust. Cold dulls sweetness, so a batch that tastes right at room temperature will taste flat over ice—lean slightly sweet and slightly tart.
Make a simple syrup by stirring equal parts sugar into hot water until it dissolves, then chill it in a squeeze bottle. It mixes into cold liquid instantly, which plain sugar won't, and it saves you from gritty drinks.
Think about dilution
The common mistake is building the pitcher over a full load of ice, which means the first pour is perfect and the last pour is water. Instead, chill the ingredients in the fridge ahead of time and keep ice in the glasses, not the pitcher. If you want a pitcher sitting out on the table for the visual, drop in one large block of ice—freeze water in a loaf pan or a round container—rather than a scoop of cubes. It melts slowly and looks better.
Mix everything except the fizzy element a few hours ahead and keep it cold. Add soda, tonic, or sparkling cider right before guests arrive. Write a small card for each pitcher with the name and the main ingredients. Two lines is enough, and it saves you from answering the same question twenty times.
Ice Is the Whole Game
Running out of ice is the fastest way to make a good station look neglected. As a workable rule of thumb—not a law—buy more than you think you need, and treat one spare bag as insurance rather than leftovers. For a crowd of twenty over an evening, plan on several ten-pound bags plus a backup, and keep it all in a cooler rather than the kitchen sink.
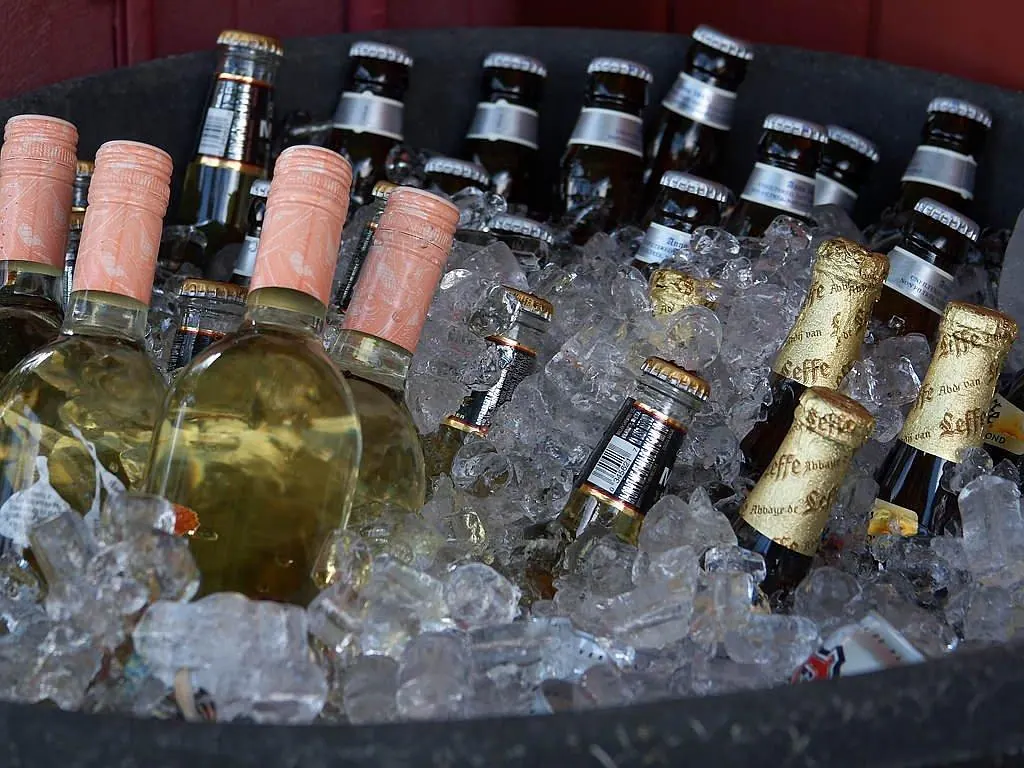
- Two coolers. One for ice only, one for chilling bottles. Ice in a cooler full of beer tastes like beer.
- Never scoop with a glass. A glass rim chips into the ice and someone ends up with it in their drink. Use tongs or a proper scoop, and leave them in the cooler.
- Refill in small amounts. A shallow bowl of ice at the station is easier to scoop from than a deep bucket. Top it up every twenty minutes instead of one heavy dump.
- Match the ice to the job. Cubes for glasses, crushed ice for chilling bottles fast, a block for a punch bowl.
Garnishes That Don't Slow You Down
Good garnishes are prepped, not assembled. A shallow dish of citrus wheels, a glass of herb sprigs sitting in cold water, a few cucumber ribbons, a small bowl of berries. Put out a fork or tiny tongs so guests aren't reaching into the dish with their hands.
Cut citrus the day before and store it covered in the fridge; it holds up well. Mint and basil stay perky in a jar of cold water, stems down. Anything delicate that browns or wilts—thin apple slices, fresh peach—should go out in a small amount and get refilled from the fridge rather than sitting out all evening.
Rimming sugar or salt is a nice detail if you serve one drink that suits it. Put it on a small plate next to a wedge of citrus, and guests will figure it out without instructions.
A Timeline That Actually Works
- Two days out: shop, wash and dry citrus, make the simple syrup, start freezing your ice block.
- The day before: cut citrus into wheels, store airtight; chill all mixers and juices.
- Two hours before: set the table, fill the coolers, batch the pitchers without the fizzy element.
- Thirty minutes before: add the bubbles, set out garnishes, fill the station ice bowl, put out the towel and the empties tub.
Keep It Clean and Safe
Use tongs for anything shared, and swap out garnish dishes when they start looking picked-over. Juice, dairy, and cut fruit shouldn't sit at room temperature for hours—put out a modest amount and refill from the fridge during the party.
If you're serving alcohol, label the pitchers clearly, keep water and food within reach, and make sure nobody who's been drinking is driving. For larger events, or anything where you're providing alcohol in a more formal capacity, it's worth checking local rules rather than guessing.
The Five-Minute Mid-Party Reset
Even a well-planned station needs one pass. About halfway through, take five minutes: dump the drip tray, wipe the table, consolidate half-empty pitchers into one, restock the ice bowl, and swap in fresh garnish dishes. That single reset is what makes a station look like it was set up an hour ago rather than three.
Do that, and you'll spend the rest of the night with a drink in your hand instead of a ladle.
Photo: bridgesward / Pixabay