

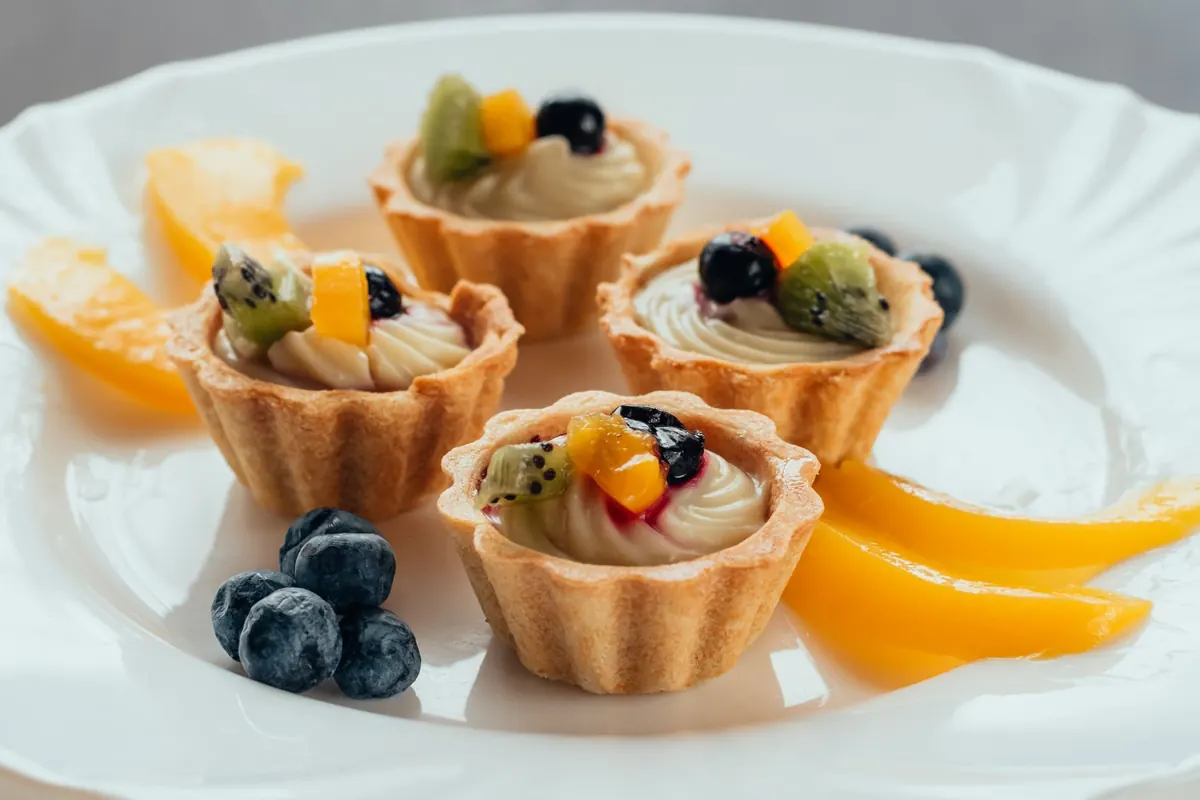

Mini dessert cups solve the least glamorous part of party planning: the last half hour. Instead of slicing a cake while guests stand around holding plates, you pull a tray from the fridge and set it down. Every portion is already layered, already dressed, already the right size. They are also the most forgiving dessert you can make for a crowd — no oven, no decorating skill, and most of the work can happen the day before.
The five recipes below share the same basic structure, so you can make two or three of them without doubling your shopping list.
Why Individual Dessert Cups Earn Their Tray Space
A guest who wants a taste of two flavors can take two small cups without committing to a whole slice. Nothing collapses when you cut it, nothing needs plating, and nothing melts into a puddle on the dessert table. Cleanup is a tray and a stack of spoons.
They are also easy to adapt. Swap graham crumbs for gluten-free cookies, use a coconut-based whipped topping instead of dairy cream, and the rest of the recipe stays the same. If nuts, dairy or gluten are in play, label each flavor with a small card so guests can choose with confidence — and ask about allergies directly rather than guessing.
The Four-Part Formula Behind Every Cup
Every good dessert cup does four jobs: something crunchy, something creamy, something bright, and something to finish with. Get those in balance and the specific recipe matters less than the order you stack them in.
- Base — crushed cookies, graham crumbs, pretzels or brownie pieces. Press lightly into the bottom, about 1 tablespoon per 4-ounce cup.
- Cream layer — cheesecake batter, mousse, pudding or sweetened whipped cream. This is the bulk, so keep it the least sweet element in the cup.
- Bright layer — berry compote, lemon curd, espresso soak, salted caramel. A spoonful or two is enough to cut through the cream.
- Finish — whipped cream, fresh fruit, cocoa, crushed nuts or flaky salt. Add this the day of, not the day before.
On size: 4- to 5-ounce cups give a proper dessert portion. Drop to 2-ounce cups if you are setting out three or more flavors and want guests to sample their way down the table.
Five No-Bake Cups to Make
1. No-Bake Cheesecake Cups with Berry Compote
Mix 1½ cups graham crumbs with 5 tablespoons melted butter and 2 tablespoons sugar; press a tablespoon into each cup and chill. Beat 8 ounces softened cream cheese with ½ cup powdered sugar, 1 teaspoon vanilla and a pinch of salt, then fold in 1 cup cream whipped to soft peaks. For the compote, simmer 2 cups berries with 2 tablespoons sugar and a squeeze of lemon for 5 minutes, then cool completely. Layer crust, filling, compote, and top with a fresh berry.
Make-ahead: crust and filling keep two days; spoon the compote on the day.
2. Chocolate Mousse Cups with Pretzel Crunch
Pour ½ cup warmed cream over 6 ounces chopped chocolate, wait a minute, then stir smooth and cool for 10 minutes. Whip 1½ cups cold cream with 2 tablespoons sugar and a pinch of salt to soft peaks and fold it into the chocolate in three additions, with ½ teaspoon espresso powder if you have it. Layer over crushed salted pretzels. Chill at least two hours; it holds for two days.
Tip: fold gently. Overmixing knocks the air out and gives you dense pudding instead of mousse.
3. Lemon Curd and Shortbread Cups
The fastest of the five. Crush shortbread or gingersnaps, then alternate crumbs, a good jarred lemon curd and whipped cream beaten with the zest of one lemon and 2 tablespoons powdered sugar. Two rounds of each fills a 4-ounce cup. Sharp and bright, it works especially well after a heavy meal.
Tip: a jarred curd is perfectly good here. If you make your own, cool it fully or it will melt the cream layer.
4. Banana Pudding Cups
Whisk one 3.4-ounce box instant vanilla pudding with 2 cups cold milk for two minutes, let it set for five, then fold in a cup of whipped cream. Layer with vanilla wafers and bananas tossed in a little lemon juice. Add a drizzle of salted caramel if you want a little contrast.
Timing: assemble no more than four hours ahead — bananas brown and the wafers go soft. Add the wafers at the last minute if you like them crisp.
5. Espresso Tiramisu Cups
Stir 8 ounces room-temperature mascarpone with ¼ cup powdered sugar and 1 teaspoon vanilla. Whip 1 cup cream with 2 tablespoons sugar to soft peaks and fold it in. Brew 1 cup strong coffee, cool it, and add a splash of vanilla or rum. Dip ladyfingers for one second per side — any longer and they fall apart — then layer with the mascarpone cream and dust with cocoa through a sieve. Chill four hours or overnight, and dust again just before serving.
What to Make When
Spread the work across two evenings and the party day stays calm.
- Up to three days ahead: crumb bases, compotes, lemon curd, pudding, mousse.
- One to two days ahead: fully assembled cheesecake, mousse and tiramisu cups.
- Four to twelve hours ahead: anything with cookies or wafers that soften as it sits.
- Last hour: whipped cream rosettes, fresh fruit, crumbles, cocoa and drizzles.
Cover trays with a lid or plastic wrap before they go in the fridge — cream picks up the smell of everything around it. Piped cream looks best within a day, so save the swirls for the morning of.
Assembly, Transport and Serving
Use a piping bag, or a zip-top bag with the corner snipped, for the cream layers. It is faster than a spoon and gives you even cups. Tap the tray on the counter once after filling to settle the layers, and wipe the rims with a damp cloth so they look sharp.
For travel, stand the cups in a muffin tin or a rimmed tray lined with a folded towel so they cannot slide. Keep them cold in a cooler with ice packs; if they will sit out for more than an hour, set the tray over a larger tray of ice. Put out small spoons rather than forks, and keep a spare few cups in the fridge — someone always comes back for a second.
A Short Game Plan
- Choose two flavors that contrast: one chocolate or espresso, one fruit.
- Shop for one cream base, one bright layer and one crunchy element per flavor.
- Make the bases and bright layers two nights before.
- Assemble the cups the day before, leaving the finishes off.
- Finish, chill and set out on a tray, still cold, when dessert is called.
Two well-made flavors beat five rushed ones, and a tray of neat little cups gives you something a sheet cake never does: the ability to stand next to your guests instead of behind the counter with a knife.
Photo: Pexels / Pixabay